At first glance, one may get overwhelmed with all those connectors and ports on the back of any AV receiver. It is especially true if the unit belongs to the high-end segment and offers a tremendous amount of ports. So it is when a simple task, such as connecting an amplifier to a receiver with Pre-Outs, may seem to be an impossible mission. Yet, it’s not all that terrible, and after reading this article, you won’t have any problem doing that in no time.
There can be many reasons why there is a need for the Pre-Out port. One of the most popular uses is that even though there is a built-in amplifier in any AV receiver, you still may want to use a separate amplifier for your setup. This is because it sends the electric signal from the receiver to the external amplifier bypassing the built-in one. By the way, I have a separate article where you can read the difference between a receiver and an amplifier in more detail. This setup has its pros and cons, and I will analyze them in this article.
A step-by-step guide on connecting an amplifier with an AV receiver

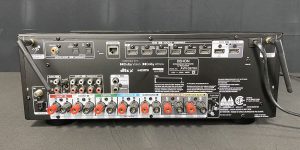
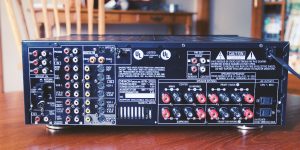
This issue has been around for quite some time, and not without a good reason. Before proceeding to the instruction itself, let’s first establish what is Pre-Out on the receiver. This port is mainly used for connecting the additional amplifier to the receiver. Such a setup offers additional power and higher quality than the built-in amplifier. So, how to do it?
- Power up both units.
- Prepare the equipment.
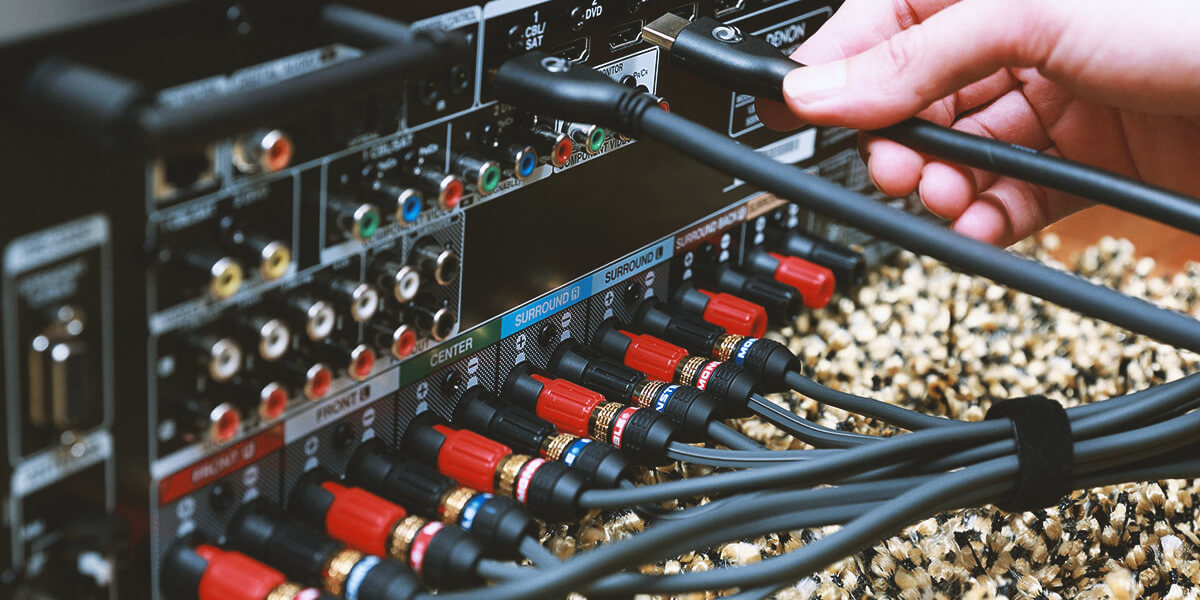
- Connect the equipment.
- Turn on the devices.
- Connecting additional speakers.
Before anything else, make sure that you actually turn on the devices. Then, gather power cables and make sure they all are plugged in. Most frequently, it only takes to plug the wire into both units and insert their cables into the power socket. Yet, there can be variations. At the same time, I recommend unplugging everything else for the first time to eliminate the risk of complications.
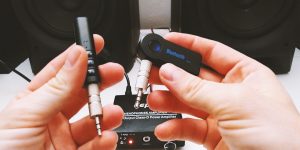
In High-End systems, you are usually given an option on what cables and wires you want to use to build your setup. So, buy every necessary equipment. The list includes RCA cables, wires, etc. Remember, every speaker needs its own wire.
Connect the amplifier with your speakers via wire, then insert the RCA cable both into the receiver output and amplifier input. This is basically done. Cable management is completely up to you, as it only makes the setup look good without affecting the sound quality.
You can choose how you would like the devices to start—simultaneously, or you would like to turn them on separately. Both options are correct, and the choice solely depends on your preference. After the units are on, pay attention to using the unbalanced connection. Some amplifiers do that automatically, while others require manual selection. Always pick the unbalanced connection when connecting an amplifier with an AV receiver.
Sometimes connecting a single amplifier is not enough. You can repeat the same steps with additional units and speakers in this case. The procedure is no different from what you already did during the instruction. The key aspect here is to pay attention to the type of connection. My choice is the unbalanced one.
Why connecting an amplifier to the receiver: pros and cons

The main idea behind adding another amplifier to the AV receiver is to get a superior sound quality. However, no matter how expensive the AV receiver is, it still has compromises inside. AV receiver manufacturers can’t place a powerful built-in amplifier into their all-in-one device since it needs a lot of space for its components and produces lots of heat.
Therefore, you can take sound quality to another level with an additional amplifier. This is especially true with music, as AV receivers are not known for delivering quality stereo sound. On the other hand, getting additional amplifiers can be very expensive. A cheap external amplifier won’t be much of an improvement over the built-in one. Yet, getting a quality one is costly. So, again, it is about compromising sound quality for the price. The decision is up to you, but if you want the most quality sound, the choice is obvious.